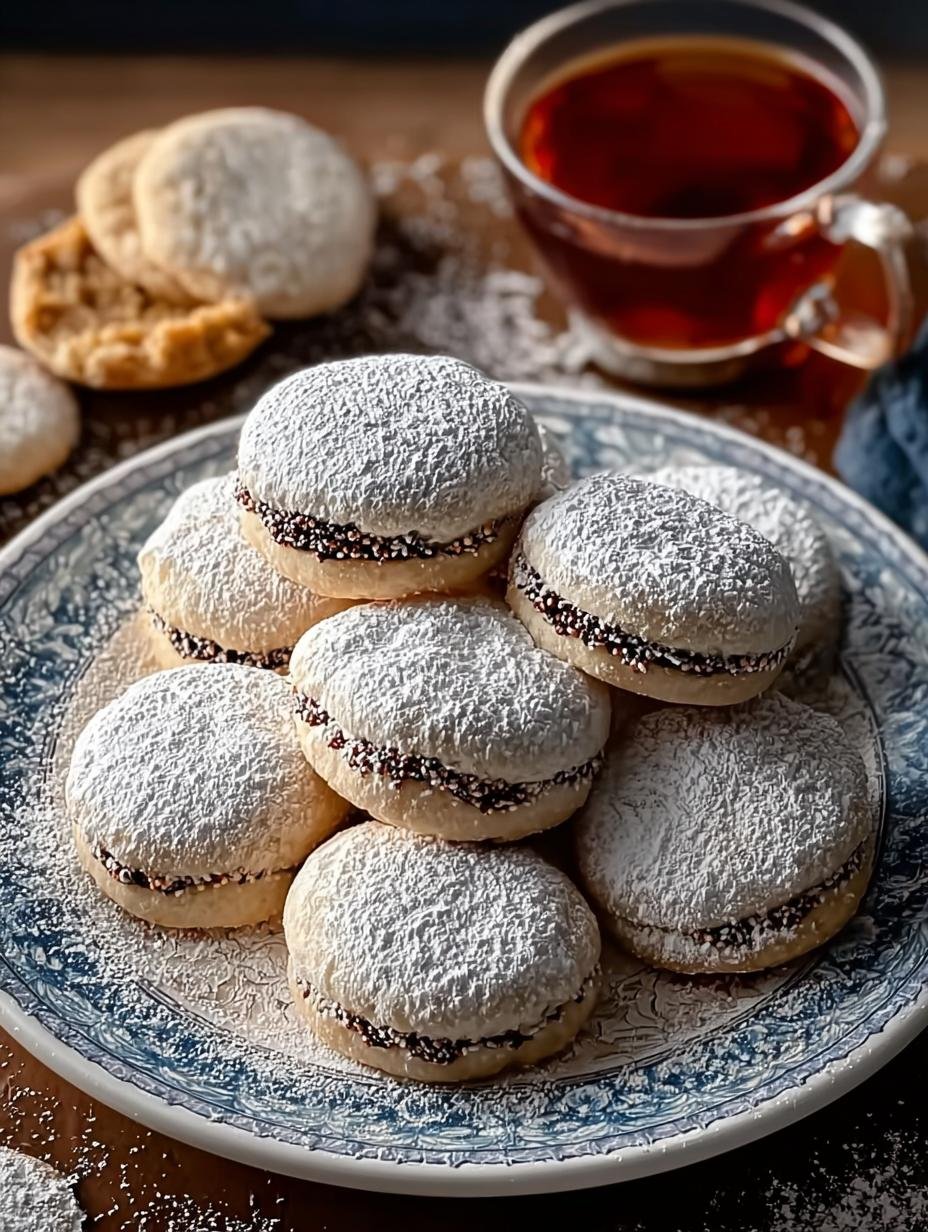
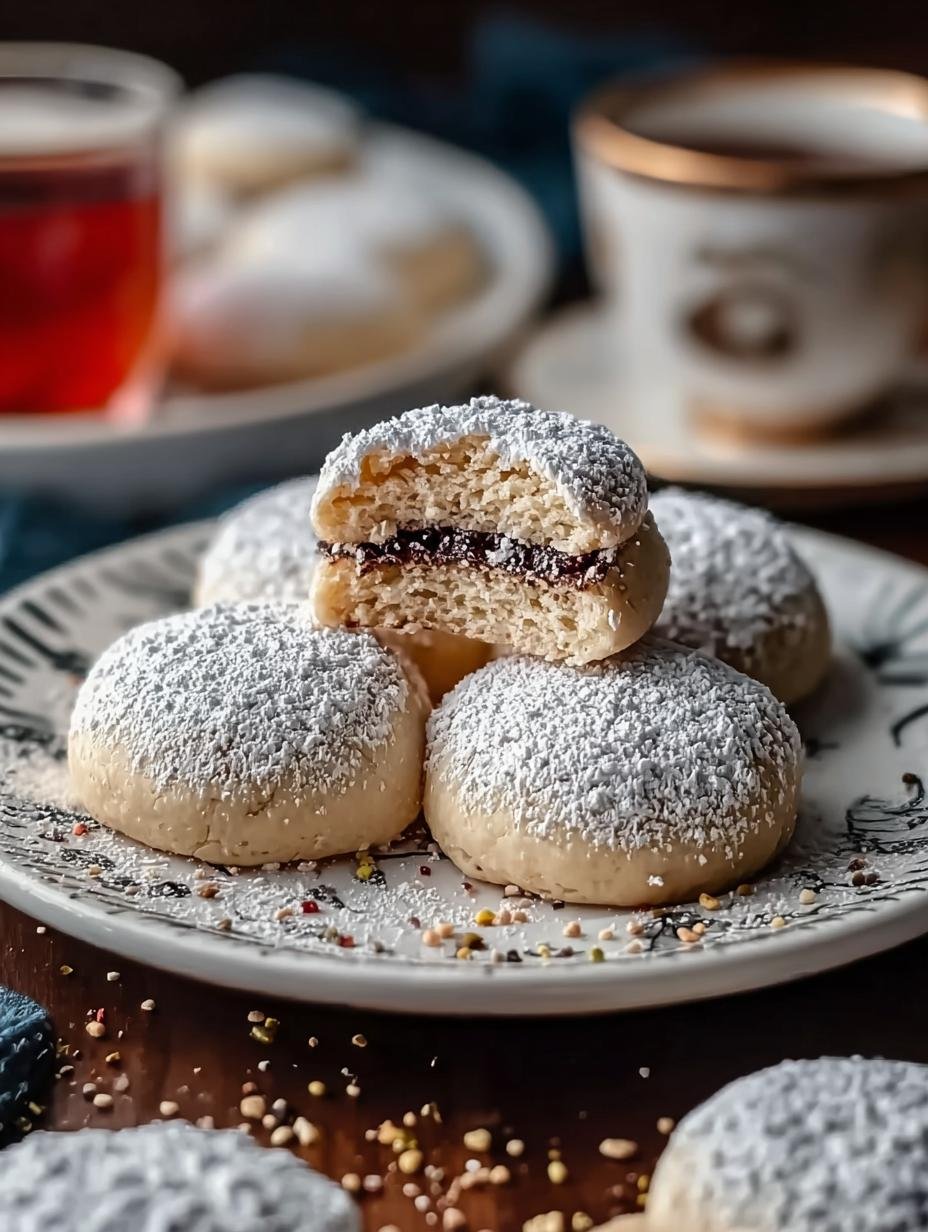
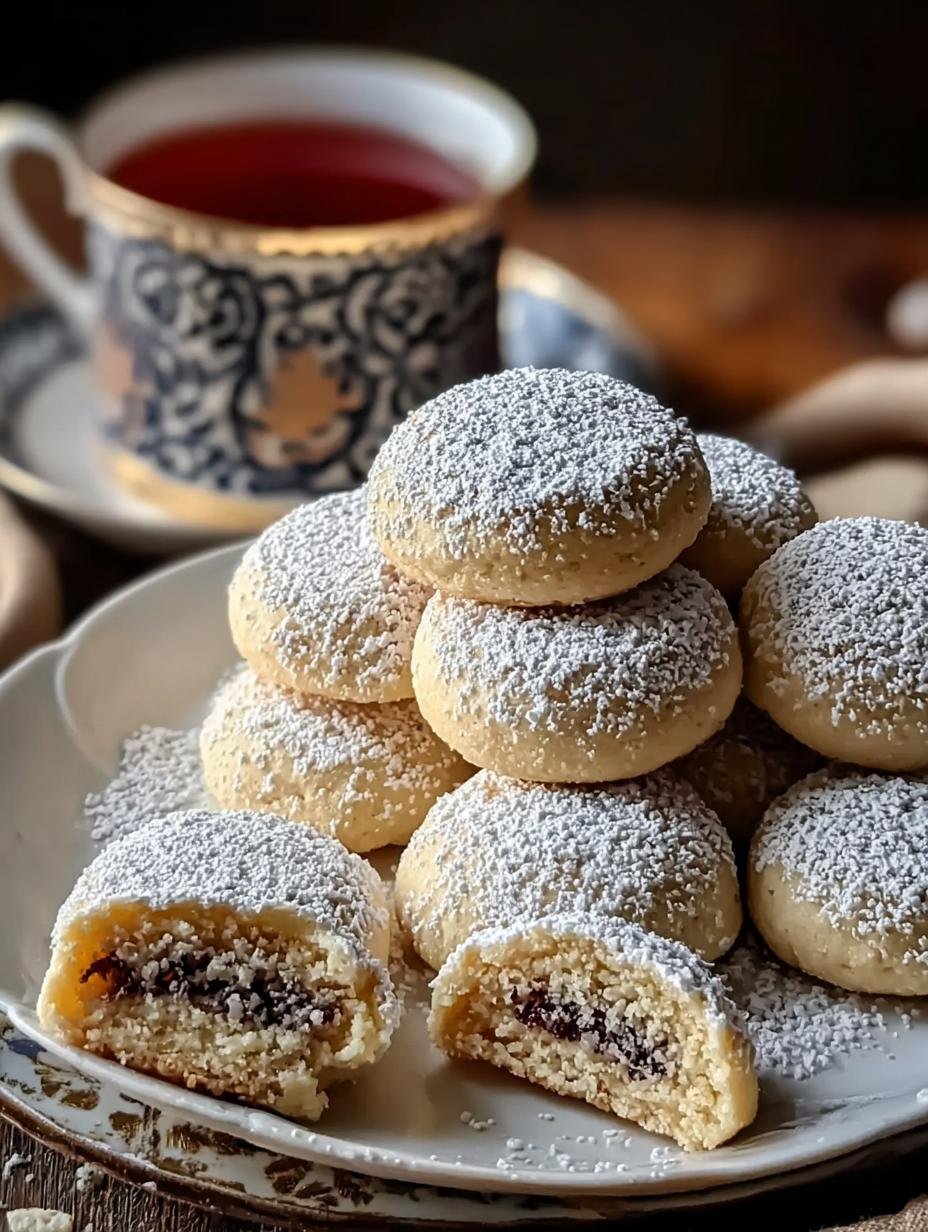
Russian Tea Cakes have always held a special place in my heart, bringing back memories of cozy holiday gatherings and my grandmother’s kitchen filled with the sweet scent of baking. These aren’t just any cookies; they are the epitome of melt-in-your-mouth perfection, a truly buttery cookie that crumbles delicately with every bite. I remember sneaking one (or two!) straight from the cooling rack, the powdered sugar dusting my nose. They are wonderfully simple, relying on a few pantry staples to create something truly magical. Let’s get baking these classic cookies!
Why You’ll Love These Russian Tea Cakes
These aren’t just any cookies; they’re a little bite of heaven! You’ll adore them for so many reasons:
- Melt-in-your-mouth texture: Seriously, they just disappear on your tongue.
- Simple ingredients: You probably have almost everything you need right now.
- Perfect for holidays: These classic cookies are a festive addition to any celebration.
- Quick prep time: Get them into the oven in under 20 minutes.
- Delightful buttery flavor: That rich taste is simply irresistible.
- Crowd-pleasers: Everyone, from kids to grandparents, loves these.
- Ideal for tea parties: They are the ultimate accompaniment to your favorite brew.
- Beautiful presentation: The snowy dusting makes them look extra special.
Ingredients for Classic Russian Tea Cakes
Gathering these simple ingredients is the first step to baking these delightful butter cookies. The magic truly lies in the quality of a few key items, so let’s make sure we have everything:
- 1 cup (226 g) unsalted butter, softened – This is crucial for that signature melt-in-your-mouth texture and rich flavor. Make sure it’s soft, not melted!
- 1/2 cup (60 g) powdered sugar, plus more for rolling – This sweetens the dough and provides the iconic snowy coating. Don’t skip the extra for dusting!
- 1 tsp vanilla extract – A classic flavor enhancer that complements the buttery notes beautifully.
- 2 1/4 cups (280 g) all-purpose flour – The base of our cookies, providing structure.
- 1/4 tsp salt – Balances the sweetness and really makes the flavors pop.
- 3/4 cup (90 g) finely chopped nuts (walnuts, pecans, or almonds) – These add a delightful subtle crunch and depth. Chop them finely to avoid cracking the cookies.
- Optional: 1/2 tsp almond extract – For a more complex nutty flavor.
- Optional: Zest of 1/2 orange or lemon – Adds a bright, fresh citrus note that cuts through the richness.

How to Make Perfect Russian Tea Cakes
Making these delightful snowball cookies is a straightforward process that yields incredibly rewarding results. Follow these steps for the best Mexican wedding cookies you’ve ever tasted!
- Step 1: Preheat your oven to 350°F (175°C). Line a baking sheet with parchment paper to prevent sticking and ensure easy cleanup.
- Step 2: In a large bowl, cream together the softened butter and 1/2 cup of powdered sugar. Beat them until the mixture is light and fluffy; this is key for a tender cookie. Stir in the vanilla extract until well combined.
- Step 3: Gradually add the all-purpose flour and salt to the butter mixture. Mix on low speed or stir with a spatula until a soft, cohesive dough begins to form. Be careful not to overmix at this stage.
- Step 4: Gently fold in the finely chopped nuts. If your dough feels too soft or sticky to handle, cover it and chill in the refrigerator for about 15 minutes. This makes rolling much easier.
- Step 5: Scoop about 1 tablespoon of dough for each cookie. Roll the dough between your palms to form smooth balls. Place them on the prepared baking sheet, leaving about 1 inch of space between each one.
- Step 6: Bake for 12-15 minutes. You’re looking for the bottoms of the snowball cookies to be just lightly golden, while the tops should remain pale. They continue to bake slightly as they cool.
- Step 7: Let the Russian Tea Cakes cool on the baking sheet for about 5 minutes. While they are still warm, gently roll each cookie in a bowl of powdered sugar.
- Step 8: Transfer the sugared cookies to a wire rack to cool completely. This step is important before the final dusting.
- Step 9: Once fully cooled, give each cookie a second roll in powdered sugar. This creates that signature snowy, frosted look that makes these Mexican wedding cookies so special.
Pro Tips for the Best Russian Tea Cakes
I’ve learned a few tricks over the years that make these classic cookies absolutely perfect every time. Follow these tips for the most delightful melt-in-your-mouth experience!
- Always use room-temperature butter. It creams much better with the sugar, creating that essential light and fluffy base for our buttery cookies.
- Be careful not to overbake! The key is for the tops to remain pale. They’ll continue to firm up as they cool, so resist the temptation to bake longer if they look too soft.
- Rolling the cookies while they’re still warm helps the first layer of powdered sugar adhere beautifully, giving them that initial snowy look.
- Finely chop your nuts. Large pieces are the main culprit for cracked cookies, so take a moment to get them as small as possible.

What’s the secret to perfect melt-in-your-mouth Russian Tea Cakes?
The secret lies in using softened, room-temperature butter for creaming and, crucially, not overbaking. These buttery cookies should remain pale on top, ensuring they are tender and truly melt in your mouth.
Can I make Russian Tea Cakes ahead of time?
Absolutely! You can prepare the dough up to 2 days in advance and store it, covered, in the refrigerator. You can also bake the cookies and store them unfrosted for up to 3 days before rolling them in sugar.
How do I avoid common mistakes with Russian Tea Cakes?
To avoid cracked butterballs, make sure your nuts are very finely chopped. Also, watch them closely as they bake; overbaking is the most common mistake. Finally, don’t skip the second dusting of powdered sugar – it gives them that signature snowy finish!
Best Ways to Serve Russian Tea Cakes
These delicate Russian Tea Cakes are so versatile! They’re a stunning addition to any holiday cookie platter, adding a touch of elegance and a delightful contrast to richer, darker cookies. I also love serving them with a warm cup of tea or coffee during afternoon tea time; they truly elevate the experience. For a simple yet impressive dessert, just arrange them on a plate. Their buttery, melt-in-your-mouth texture makes them a perfect, light treat that everyone will enjoy, whether you’re entertaining guests or just treating yourself.
Nutrition Facts for Russian Tea Cake
When enjoying these delightful Russian Tea Cakes, it’s helpful to have an idea of their nutritional profile. Each cookie offers a sweet, buttery indulgence without being overly heavy. They are a classic choice for a reason, providing simple goodness.
- Calories: 110
- Fat: 8g
- Sugar: 3g
- Carbohydrates: 9g
- Protein: 1g
- Sodium: (Not specified in provided data)
Nutritional values are estimates and may vary based on specific ingredients used.
How to Store and Reheat Russian Tea Cakes
Proper cookie storage is key to keeping these delicate Russian Tea Cakes tasting fresh and maintaining their signature melt-in-your-mouth texture. Once they’ve completely cooled on the wire rack, transfer them to an airtight container. I usually layer them between sheets of parchment paper to prevent the powdered sugar from sticking to each other. They can be stored at room temperature for up to 5 days, making them fantastic for make-ahead holiday treats.
If you need to store them for longer, they freeze beautifully! Place the cooled, sugared cookies in a freezer-safe container or bag, ensuring they are well-protected. They’ll keep their delightful buttery flavor for up to 3 months. When you’re ready to enjoy them, simply let them thaw at room temperature for about 30 minutes. Reheating isn’t typically necessary, as these tea party cookies are best served at room temperature, but if you prefer them slightly warmed, a few minutes in a low oven (around 200°F or 95°C) can revive their crispness.
Variations of Russian Tea Cakes You Can Try
While the classic Russian Tea Cakes are absolutely perfect as is, I love experimenting to see how I can put a slightly different spin on these beloved butter cookies. If you’re looking to switch things up, here are a few ideas to make your batch of classic cookies even more exciting!
- Flavor Boost: Beyond the standard vanilla, try adding a splash of almond extract for an extra nutty depth, or incorporate the zest of half an orange or lemon for a bright, citrusy twist that cuts through the richness.
- Nutty Twists: While walnuts, pecans, and almonds are traditional, feel free to experiment with other finely chopped nuts like hazelnuts or even macadamia nuts for a different flavor profile and texture.
- Dairy-Free Delight: For those avoiding dairy, you can achieve a similar melt-in-your-mouth texture by using a high-quality plant-based butter substitute. Ensure it’s a firm, stick-style butter for the best results.
- Chocolate Drizzle: For a decadent touch, once these classic cookies have completely cooled and are re-dusted with sugar, try drizzling them with a bit of melted dark or white chocolate.

Melt-in-your-mouth Russian Tea Cakes: 1 Simple Recipe
- Total Time: 50 minutes
- Yield: About 36 cookies 1x
- Diet: Vegetarian
Description
These Russian Tea Cakes are a classic buttery, melt-in-your-mouth cookie dusted in powdered sugar. They are simple to make and perfect for holidays or any occasion.
Ingredients
- 1 cup (226 g) unsalted butter, softened
- 1/2 cup (60 g) powdered sugar, plus more for rolling
- 1 tsp vanilla extract
- 2 1/4 cups (280 g) all-purpose flour
- 1/4 tsp salt
- 3/4 cup (90 g) finely chopped nuts (walnuts, pecans, or almonds)
- Optional: 1/2 tsp almond extract
- Optional: Zest of 1/2 orange or lemon
Instructions
- Preheat your oven to 350°F (175°C). Line a baking sheet with parchment paper.
- In a large bowl, beat the softened butter and 1/2 cup of powdered sugar until light and fluffy. Mix in the vanilla extract.
- Gradually add the flour and salt to the butter mixture, stirring until a soft dough forms.
- Fold in the finely chopped nuts. If the dough is too soft, chill it for 15 minutes.
- Scoop about 1 tablespoon of dough and roll into a smooth ball. Place on the prepared baking sheet, about 1 inch apart.
- Bake for 12-15 minutes, or until the bottoms are lightly golden and the tops remain pale.
- Let the cookies cool on the baking sheet for 5 minutes. Gently roll the warm cookies in powdered sugar.
- Place the cookies on a wire rack to cool completely.
- Once cooled, roll each cookie in powdered sugar a second time for a snowy finish.
Notes
- Use room-temperature butter for best results.
- Do not overbake; the tops should stay pale.
- Rolling the cookies while warm helps the sugar adhere better.
- Finely chop nuts to prevent cracking.
- Use a small cookie scoop for uniform sizes.
- Prep Time: 15 minutes
- Cook Time: 15 minutes
- Category: Cookies, Dessert
- Method: Baked
- Cuisine: European
Nutrition
- Serving Size: 1 cookie
- Calories: 110
- Sugar: 3g
- Fat: 8g
- Carbohydrates: 9g
- Fiber: 0g
- Protein: 1g

