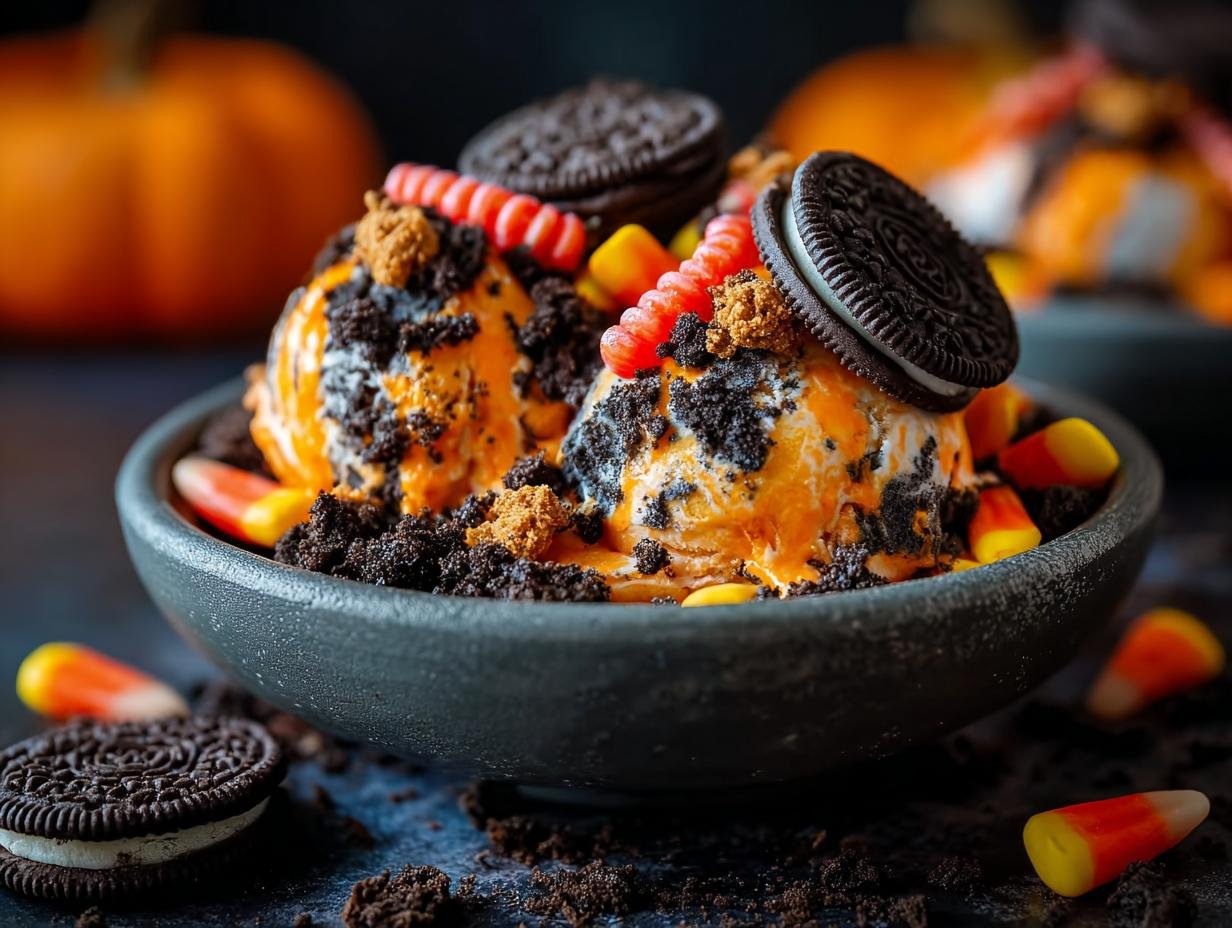
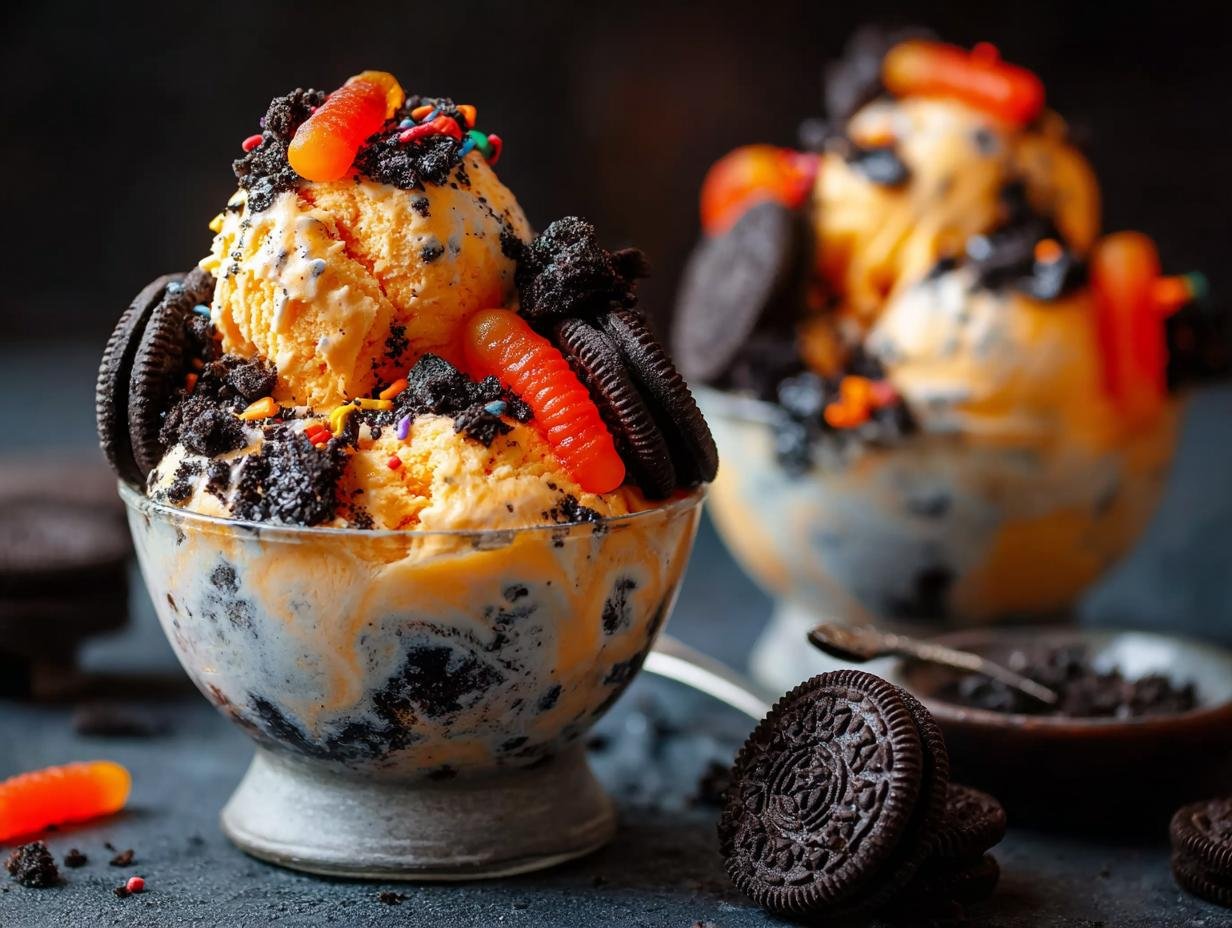
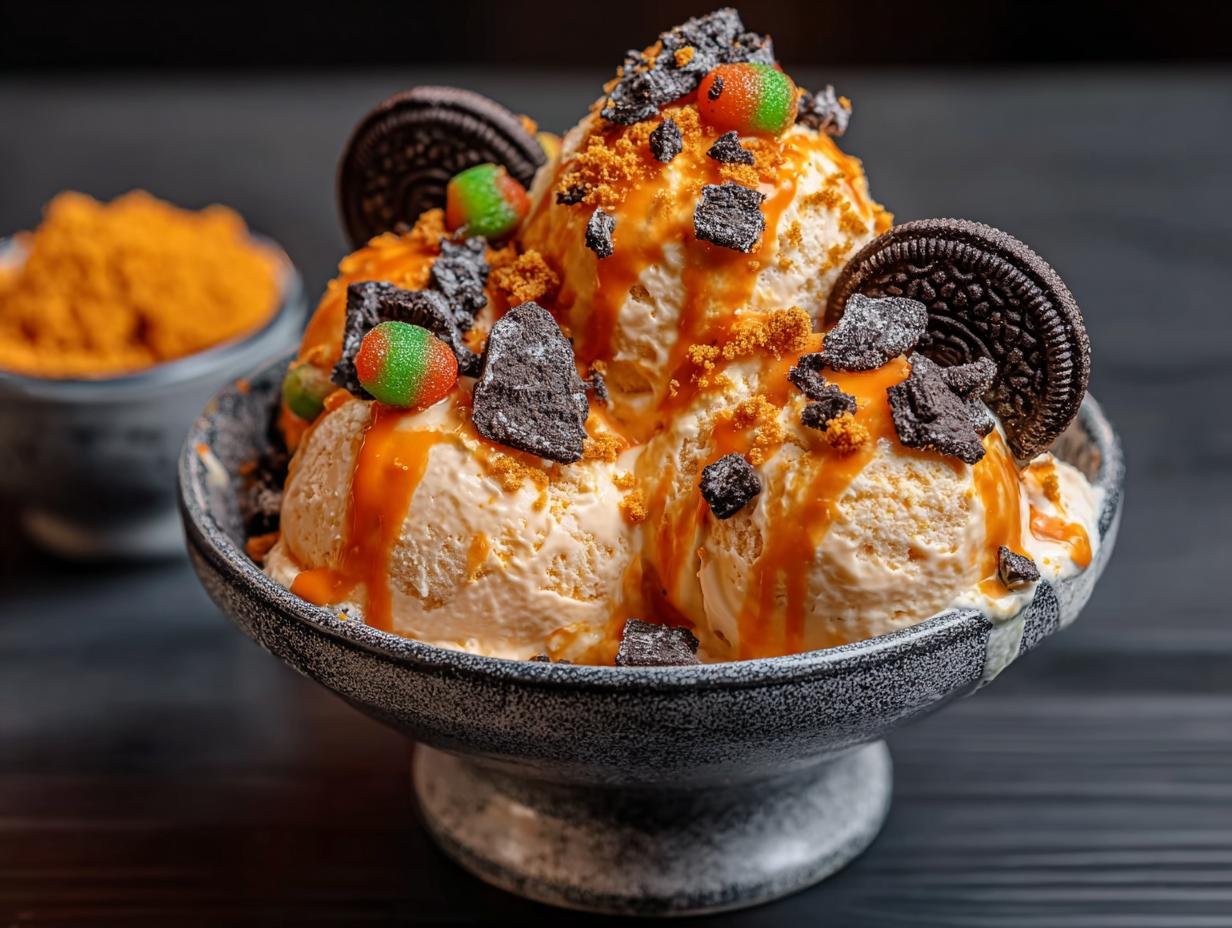
Halloween ice cream has a magical way of transforming a simple dessert into a spooky, delightful experience. I remember my first taste of this no-churn cookies-and-cream creation; the vibrant orange hue and the crunch of Oreos instantly transported me to a Halloween night filled with trick-or-treaters and the smell of fallen leaves. It’s one of my favorite easy Halloween ice cream ideas because it’s so simple to whip up, making homemade Halloween ice cream a breeze even on a busy fall evening. The creamy texture, studded with chocolatey cookie bits and topped with wiggly gummy worms, is pure joy. Let’s get cooking!
Why You’ll Love This Halloween Ice Cream
This festive treat is a winner for so many reasons:
- Incredible taste with a fun cookies-and-cream base and a vibrant orange hue.
- Seriously quick prep time – just 15 minutes to get it ready for the freezer!
- It’s a fantastic way to enjoy some spooky ice cream flavors without a complicated process.
- Budget-friendly, using common pantry staples for a delightful dessert.
- Perfectly family-friendly and a huge hit with kids during Halloween.
- The texture is wonderfully creamy, even without an ice cream maker.
- It’s a great base for exploring other spooky ice cream flavors you might dream up.
- A truly festive Halloween dessert that’s sure to impress your guests.
Ingredients for Halloween Ice Cream
Gathering these ingredients is the first step to creating this delightful Halloween dessert ice cream. The magic really happens with the combination of simple components that create a wonderfully creamy, no-churn base. Here’s what you’ll need:
- 2 cups heavy whipping cream, chilled – This is crucial for getting those stiff peaks that give our ice cream its airy texture.
- 1 can (14 oz) sweetened condensed milk – The secret to sweetness and creaminess without churning!
- 1 tsp vanilla extract – For that classic, comforting ice cream flavor.
- Orange gel food coloring – This gives our ice cream that perfect spooky Halloween hue. Gel coloring provides the most vibrant color without thinning the mixture.
- 1 ½ cups crushed Oreo cookies – These add irresistible chunks of chocolatey goodness and a great cookie-and-cream flavor.
- Gummy worms (for garnish) – These are one of my favorite Halloween ice cream toppings, adding a fun, wiggly texture and a playful touch to our festive creation.
How to Make Halloween Ice Cream
Learning how to make Halloween ice cream is surprisingly simple, and I’m excited to walk you through it! This no-churn method means you don’t need any special equipment, just a little patience for freezing. The result is a wonderfully creamy, spooky treat that’s perfect for any Halloween gathering. We’ll start with the base, then bring it all together for a frozen masterpiece.

Step 1: Prepare the Base
First, grab a large, chilled bowl and your electric mixer. Whip the 2 cups heavy whipping cream until stiff peaks form – that means when you lift the beater, the cream stands straight up. In a separate bowl, whisk together the 1 can (14 oz) sweetened condensed milk, 1 tsp vanilla extract, and a few drops of orange gel food coloring. Keep adding the food coloring until you achieve a vibrant, spooky orange that screams Halloween. For more tips on achieving the perfect texture, check out these old-fashioned ice cream recipes.
Step 2: Combine and Freeze
Now for the magic! Gently fold the whipped cream into the orange condensed milk mixture. Be careful not to overmix; you want to keep that lovely airiness. You should have a smooth, fluffy, and gorgeously orange base. Next, carefully stir in the 1 ½ cups crushed Oreo cookies, making sure to leave some larger chunks for a delightful texture contrast. Pour this glorious mixture into a loaf pan. Cover it tightly with plastic wrap or a lid to prevent freezer burn. Now, the hardest part: letting it freeze! Pop it into the freezer for at least 6 hours, or ideally overnight, until it’s firm.
Step 3: Garnish and Serve
Once your Halloween ice cream is completely frozen, it’s time for the final, festive touch. Scoop generous portions into chilled bowls or waffle cones. This is where you get creative with your Halloween ice cream toppings! I love adding a few wiggly gummy worms sticking out of the top, making it look like they’re crawling out of the ice cream. You can also add candy eyes or sprinkles for an extra spooky effect. Enjoy your homemade creation! If you’re looking for more fun dessert ideas, consider these chocolate dump cake caramel recipes.

Pro Tips for the Best Halloween Ice Cream
Creating the perfect spooky treat is all about a few key details. Follow these tips to ensure your Halloween ice cream is a crowd-pleaser!
- Always use full-fat heavy whipping cream and sweetened condensed milk for the creamiest texture. Light versions won’t yield the same richness.
- Make sure your cream and bowl are well-chilled before whipping; this helps them achieve stiff peaks much faster.
- Don’t overmix when folding the whipped cream into the condensed milk base – you want to keep it light and airy, not deflated.
- Crush your Oreos just before adding them for the best texture; pre-crushed cookies can sometimes be a bit stale.
- Freeze in a shallow, freezer-safe container for faster and more even freezing.
What’s the secret to perfect no-churn Halloween ice cream?
The secret to perfect no-churn Halloween ice cream lies in the ratio of heavy cream to sweetened condensed milk. The fat in the cream creates a smooth, ice-crystal-free texture, while the condensed milk provides sweetness and body without needing to churn. For a similar creamy texture in a different dessert, try this creamy lemon chicken pasta.
Can I make Halloween ice cream ahead of time?
Absolutely! This Halloween dessert ice cream is perfect for making ahead. You can prepare it up to 24 hours in advance and keep it covered in the freezer. Just let it sit on the counter for a few minutes to soften slightly before scooping.
How do I avoid common mistakes with Halloween ice cream?
A common mistake is overmixing the batter, which can make the ice cream dense. Also, ensure your freezer is cold enough; a too-warm freezer can lead to icy textures. Finally, always cover the ice cream to prevent freezer burn and absorbing odors. For more insights into food preparation, you might find this article on typography interesting, as clear instructions are key in recipes.
Best Ways to Serve Halloween Ice Cream
Presenting this delightful Halloween ice cream is half the fun! For a truly festive Halloween ice cream experience, try serving it in black or orange bowls, or even hollowed-out mini pumpkins for a rustic, spooky look. You can also serve it in waffle cones dipped in orange candy melts and rolled in sprinkles. This creamy, cookies-and-cream delight pairs wonderfully with a side of spooky-shaped sugar cookies or a drizzle of chocolate sauce. It’s a simple yet impressive way to add a playful touch to your Halloween party spread. Consider pairing it with some Reese’s peanut butter banana bread for a double dose of deliciousness.
Nutrition Facts for Halloween Ice Cream
This festive treat is a delicious way to celebrate the season. Here’s a breakdown of the nutritional information per serving, so you know what you’re enjoying with this Halloween ice cream:
- Calories: 310
- Fat: 18g
- Saturated Fat: 11g
- Protein: 4g
- Carbohydrates: 32g
- Fiber: 1g
- Sugar: 26g
- Sodium: 120mg
Nutritional values are estimates and may vary based on specific ingredients and brands used. For more information on understanding nutritional labels, you can refer to resources like the FDA’s Nutrition Facts Label guide.
How to Store and Reheat Halloween Ice Cream
Properly storing your delicious Halloween ice cream ensures it stays perfectly scoopable and festive for your guests. After it’s fully frozen and you’ve enjoyed the initial serving, cover the remaining ice cream tightly in its original container or transfer it to an airtight, freezer-safe container. This prevents freezer burn and keeps your Halloween dessert ice cream tasting fresh. It will keep well in the freezer for up to 3 months, maintaining its creamy texture. If you need to reheat it slightly for easier scooping, just let it sit at room temperature for about 5-10 minutes. Avoid microwaving, as it will melt the ice cream too quickly.
Frequently Asked Questions About Halloween Ice Cream
What is Halloween ice cream?
Halloween ice cream is essentially any frozen dessert designed to celebrate the spooky season. It often features festive colors like orange, black, or purple, and can incorporate themed flavors or decorations like candy eyes, gummy worms, or crushed cookies. It’s a fun, edible way to capture the spirit of Halloween.
Why is Halloween ice cream popular?
It’s popular because it taps into the excitement and nostalgia of Halloween! These frozen treats are visually appealing with their bright colors and spooky additions, making them a hit with both kids and adults. They are a simple yet impactful way to add a festive touch to parties and family gatherings, offering a cool, sweet contrast to other Halloween candies and treats.
Can I make Halloween ice cream gluten-free?
Yes, you absolutely can! For this specific recipe, you would simply swap the Oreo cookies for gluten-free chocolate sandwich cookies. Many gluten-free cookie brands are readily available and work wonderfully as a substitute, ensuring everyone can enjoy this festive treat. You might also be interested in these keto coconut macaroons for another gluten-free option.
What are some other spooky ice cream flavors I could try?
Beyond this cookies-and-cream version, you could explore a “pumpkin spice” Halloween ice cream by adding pumpkin puree and warming spices, or create a “witch’s brew” flavor with green coloring and perhaps some lime zest. A “ghost ice cream recipe” could involve a vanilla base with white chocolate chips and marshmallow swirls. For a different kind of sweet treat, check out these strawberries and cream ice cream recipes.
Variations of Halloween Ice Cream You Can Try
Once you’ve mastered this basic Halloween ice cream, don’t be afraid to get creative! Exploring different spooky ice cream flavors is part of the fun. For a dietary twist, try a vegan version by using full-fat coconut milk instead of heavy cream and a dairy-free condensed milk alternative. You could also adapt this into a “ghost ice cream recipe” by using a vanilla base, adding white chocolate chips, and perhaps a swirl of marshmallow fluff for that ghostly charm. Another idea is to create a “pumpkin spice Halloween ice cream” by adding pureed pumpkin and warm spices like cinnamon and nutmeg to the condensed milk mixture before combining it with the whipped cream. If you’re interested in other seasonal flavors, these caramel toffee crunch cake recipes are a great choice.
Print
Awesome Halloween Ice Cream: Ghoulishly Good
- Total Time: 6 hours 15 minutes
- Yield: 8 servings 1x
- Diet: Vegetarian
Description
This Halloween Ice Cream is a no-churn cookies-and-cream base dyed orange, loaded with crushed Oreos, and topped with gummy worms for a spooky twist. Perfect for Halloween parties, this festive frozen dessert is fun, easy, and kid-approved.
Ingredients
- 2 cups heavy whipping cream, chilled
- 1 can (14 oz) sweetened condensed milk
- 1 tsp vanilla extract
- Orange gel food coloring
- 1 ½ cups crushed Oreo cookies
- Gummy worms (for garnish)
Instructions
- In a large bowl, whip the heavy cream until stiff peaks form.
- In another bowl, whisk condensed milk, vanilla, and orange gel food coloring until smooth.
- Fold the whipped cream into the orange base gently until fluffy.
- Stir in crushed Oreos, leaving some chunks for texture.
- Pour mixture into a loaf pan, cover, and freeze at least 6 hours or overnight.
- Scoop into bowls or cones and garnish with gummy worms before serving.
Notes
- For a more festive touch, add candy eyes or Halloween sprinkles.
- Use gel coloring for the brightest orange shade.
- Freeze in a shallow dish for quicker set time.
- Prep Time: 15 minutes
- Cook Time: 0 minutes
- Category: Dessert
- Method: No-Churn
- Cuisine: American
Nutrition
- Serving Size: 1 cup
- Calories: 310
- Sugar: 26g
- Sodium: 120mg
- Fat: 18g
- Saturated Fat: 11g
- Unsaturated Fat: 6g
- Trans Fat: 0g
- Carbohydrates: 32g
- Fiber: 1g
- Protein: 4g
- Cholesterol: 65mg

